ByPass FRP on Tecno Spark 5 Air KD6 KD6a Reset Using CM2, Miracle or UMT Tool

ByPass FRP on Tecno Spark 5 Air KD6 KD6a Reset Using CM2, Miracle or UMT Tool

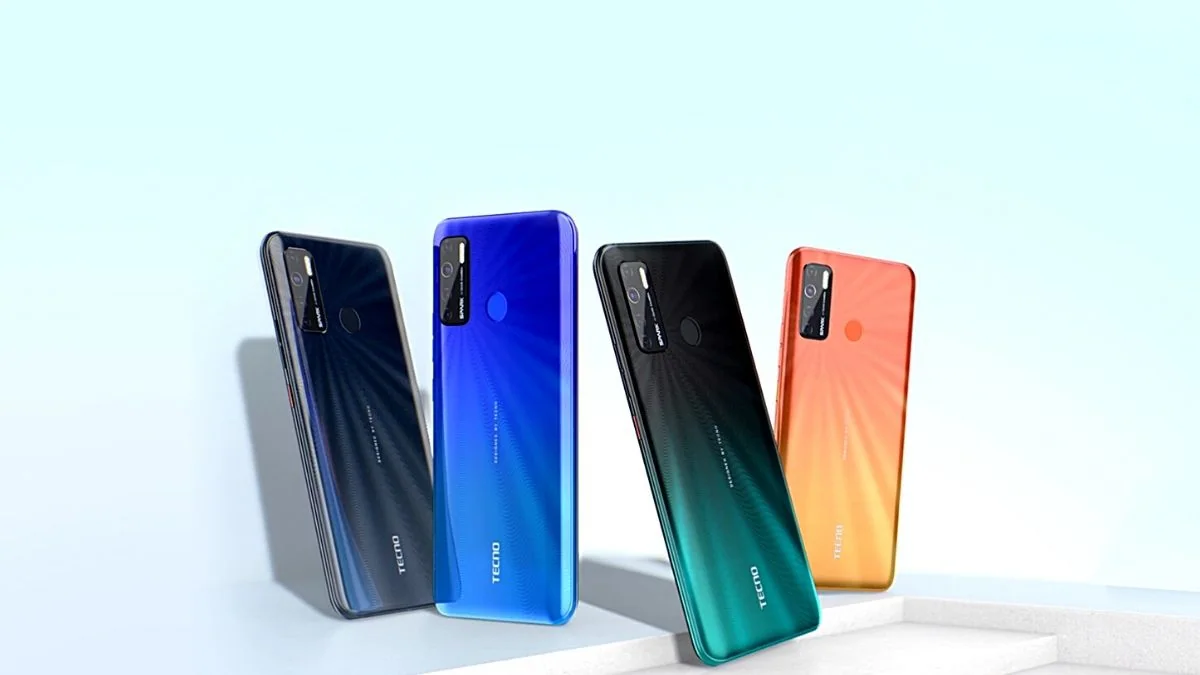
The Tecno Spark 5 Air smartphone boasts an expansive 7-inch display, setting it apart in the budget segment. Its standout features include a hefty 5,000mAh battery and a versatile triple rear camera setup. Running on Android 10 Go Edition, it offers optimized performance for efficient usage.

If you’re using the Tecno Spark 5 Air (KD6/KD6a) as your daily driver and encounter issues with Google Account Lock, fret not. This device, running on Android 10 and powered by MediaTek chipsets, is known for its performance within a budget-friendly price range. However, if you’ve performed a factory data reset and forgotten your previously signed Google account, there’s a solution.

In scenarios where you’ve purchased a second-hand device and wish to create a new account, performing a reset may prompt a Google account verification message.

If the previous user hasn’t removed their Google account, you’ll encounter the message “This device was reset, to continue to sign in with a Google account that was previously synced on this device.” If you lack the old Google Account Credentials and seek to bypass the FRP Lock on your Tecno Spark 5 Air, you can rely on this guide for assistance.

Before delving into the flashing steps and requirements, it’s essential to understand the details of the FRP (Factory Reset Protection) Lock.

FRP Lock is a security feature implemented in Android devices running Android 5.1 (Lollipop) and above. It aims to prevent unauthorized access to the device after a factory reset by requiring the user to enter the previously synced Google account credentials. This security measure is particularly useful in case the device is lost or stolen, as it helps protect the user’s data from being accessed by unauthorized individuals.

However, FRP Lock can pose a challenge if you’ve forgotten your Google account credentials or if you’ve purchased a second-hand device with the previous owner’s Google account still linked to it. In such cases, you may encounter the FRP Lock prompt, preventing you from accessing the device’s features and functions until the required Google account information is provided.

To bypass the FRP Lock on your Tecno Spark 5 Air, you’ll need to follow specific steps and requirements outlined in the flashing process. These steps typically involve flashing custom firmware or using specialized tools to bypass the FRP Lock and regain access to the device.

Understanding the intricacies of the FRP Lock is crucial before proceeding with any flashing or bypassing methods, as it ensures that you approach the process with the necessary knowledge and preparation. With this understanding, you can proceed confidently and effectively address the FRP Lock issue on your Tecno Spark 5 Air.

PAGE CONTENTS

Also Read:

https://findmyfirmware.com/download-tecno-spark-5-air-kd6a-firmware/

What is FRP Lock?

Absolutely, let’s delve into the prerequisites for removing the Google account or bypassing the FRP lock on the Tecno Spark 5 Air. Understanding these prerequisites is crucial for ensuring a smooth and successful bypass process. Let’s proceed:

  1. SP Flash Tool: Ensure you have the SP Flash Tool installed on your Windows PC. This tool will be used to flash custom firmware or tweak internal files to bypass the FRP lock on your Tecno Spark 5 Air.
  2. Correct Firmware: Download the correct firmware for your Tecno Spark 5 Air model from a reliable source. This firmware should be compatible with your device to ensure successful bypassing of the FRP lock.
  3. USB Drivers: Install the appropriate USB drivers for your Tecno Spark 5 Air on your Windows PC. These drivers are necessary to establish a stable connection between your device and the SP Flash Tool during the bypass process.
  4. Backup: Take a complete backup of all important data stored on your device. Bypassing the FRP lock may involve performing a factory reset, which will erase all data on your device. Therefore, it’s essential to backup your data to prevent any loss.
  5. Charged Battery: Ensure your Tecno Spark 5 Air has sufficient battery charge to withstand the bypass process. It’s recommended to have at least 50% battery charge to avoid any interruptions during the bypass process.

With all these prerequisites in place, you’re well-prepared to proceed with the process of removing the Google account or bypassing the FRP lock on your Tecno Spark 5 Air. These preparations are crucial to ensure a smooth and successful bypass process.

However, if you have any questions or require further assistance with any of these prerequisites, don’t hesitate to ask. Whether you need clarification on specific steps or guidance on obtaining the necessary files and tools, I’m here to help.

Your understanding and readiness are key to achieving a successful outcome, so feel free to reach out if you need any support along the way!

Pre-Requirements:

Before proceeding with the flashing steps, ensure you have the following prerequisites in place:

  1. Windows or Mac PC/Laptop: You’ll need a computer running either Windows or Mac OS to carry out the flashing process. This computer will be used to run the required software and tools.
  2. USB Cable: Have a USB cable ready to establish a connection between your Tecno Spark 5 Air and your computer during the flashing process.
  3. SP Flash Tool: Download and install the SP Flash Tool on your PC. This tool will be used to flash the stock firmware onto your Tecno Spark 5 Air.
  4. Scatter File: Obtain the scatter file associated with the stock firmware for the Tecno Spark 5 Air KD6/KD6a. This file is necessary for correctly partitioning and flashing the firmware onto your device.
  5. Stock Firmware: Download the stock firmware for the Tecno Spark 5 Air KD6/KD6a from a reliable source.
  6. MTK VCOM Drivers: Download and install the MediaTek VCOM drivers on your computer. These drivers are essential for establishing communication between your device and the SP Flash Tool.
  7. Tecno USB Drivers: Download and install the Tecno USB drivers on your PC. These drivers enable your computer to recognize and interact with your Tecno Spark 5 Air.
  8. Battery Charge: Ensure your Tecno Spark 5 Air has a battery charge of at least 60% to ensure a smoother flashing process and to avoid any interruptions.
  9. Data Backup: Take a full backup of all internal data on your device to prevent data loss during the flashing process.

Once all the prerequisites are in place, you’re ready to proceed with the flashing steps carefully. It’s essential to follow each step meticulously to ensure a successful flashing process and minimize the risk of encountering any issues.

Whether you’re loading the scatter file, connecting your device, or initiating the flashing process, attention to detail is key. If you encounter any challenges or have questions along the way, don’t hesitate to ask for further assistance.

I’m here to help guide you through the process and ensure that you achieve the desired outcome. Your success is my priority, so feel free to reach out if you need any additional support or clarification!

Steps to ByPass FRP lock on Tecno Spark 5 Air

Method 1: Using SP Flash Tool

To remove the FRP (Factory Reset Protection) lock on your Tecno Spark 5 Air device using the SP Flash tool, follow these instructions carefully:

  1. Preparation:
    • Ensure you have all the prerequisites mentioned earlier in place, including the SP Flash Tool, scatter file, stock firmware, MTK VCOM drivers, Tecno USB drivers, charged battery, and data backup.
    • Download the video guide for visual assistance if needed.
  2. Launch SP Flash Tool:
    • Open the SP Flash Tool application on your Windows or Mac computer.
  3. Load Scatter File:
    • In the SP Flash Tool interface, click on the “Scatter-loading” button.
    • Navigate to the location where you saved the scatter file for your Tecno Spark 5 Air device, and select it.
  4. Prepare Device:
    • Power off your Tecno Spark 5 Air device.
    • Connect your device to the computer using a USB cable while holding down the Volume Down button.
  5. Start Flashing:
    • Once your device is detected by the SP Flash Tool, click on the “Download” button to initiate the flashing process.
    • The SP Flash Tool will begin flashing the stock firmware onto your device. Wait for the process to complete.
  6. Completion:
    • Once the flashing process is complete, you’ll see a green “Download OK” message in the SP Flash Tool interface.
    • Disconnect your Tecno Spark 5 Air device from the computer.
  7. Boot Device:
    • Now, power on your Tecno Spark 5 Air device. Following the successful completion of the FRP bypass process, the FRP lock should now be removed. As a result, you should be able to set up your device without encountering the previous Google account verification prompt.
    • Proceed with confidence through the device setup process, including configuring essential settings, connecting to Wi-Fi networks, and personalizing your device to your preferences.
    • You should be able to access all features and functionalities of your Tecno Spark 5 Air without any hindrances posed by the FRP lock.
    • Enjoy unrestricted use of your device, and if you encounter any unexpected issues during setup or afterward, feel free to seek further assistance for resolution. Your Tecno Spark 5 Air is now ready for seamless operation without the FRP lock hindering your experience.
  8. Verification:
    • VAfter completing the FRP bypass process, it’s essential to verify that the FRP lock has been successfully removed. You can do this by setting up your device and confirming that you can access all features and functions without encountering any restrictions.
    • Proceed with the initial device setup, including configuring your Wi-Fi network, signing in with a Google account, and customizing settings as needed. Ensure that you can access all areas of your device, including the home screen, apps, settings, and other functionalities, without being prompted to enter previous Google account credentials or encountering any FRP-related restrictions.
    • By thoroughly testing your device’s functionality post-bypass, you can confirm that the FRP lock has been effectively removed, and your Tecno Spark 6 is fully operational without any limitations.
    • If you encounter any unexpected issues or restrictions during this verification process, revisit the bypass steps or seek further assistance to ensure a successful outcome.

Carefully follow each step to ensure a successful removal of the FRP lock on your Tecno Spark 5 Air device using the SP Flash Tool. Pay close attention to details such as loading the scatter file, connecting your device, and initiating the flashing process.

If you encounter any challenges or require further assistance, refer to the video guide for additional visual instructions or feel free to ask for help. Your understanding and diligence are crucial for achieving the desired outcome, and I’m here to provide guidance and support throughout the process. Don’t hesitate to reach out if you need any clarification or assistance—I’m here to help!

Method 2: Using Infinity CM2

To bypass the FRP (Factory Reset Protection) lock on your Tecno Spark 6 using Infinity CM2, follow these instructions carefully:

  1. Preparation:
    • Ensure you have all the prerequisites in place, including the Infinity CM2 dongle, compatible firmware, USB cable, and a Windows PC.
  2. Launch Infinity CM2:
    • Connect your Infinity CM2 dongle to your Windows PC.
    • Launch the Infinity CM2 software on your computer.
  3. Connect Device:
    • Power off your Tecno Spark 6 device.
    • Connect your device to the computer using a USB cable while holding down the Volume Down button.
  4. Select Model:
    • In the Infinity CM2 software, select the appropriate model of your Tecno Spark 6 device.
  5. Select Operation:
    • Choose the “Read Info” operation from the available options.
  6. Read Info:
    • Follow the on-screen instructions to read the device information. This step is necessary to ensure compatibility and proper operation.
  7. Bypass FRP:
    • Once the device information is successfully read, navigate to the “Service” tab in the Infinity CM2 software.
    • Select the “FRP Reset” option from the list of available services.
    • Follow the on-screen instructions to initiate the FRP reset process.
  8. Completion:
    • Wait for the FRP reset process to complete. This may take some time depending on your device and firmware version.
    • Once the process is complete, disconnect your Tecno Spark 6 device from the computer.
  9. Verification:
    • Power on your Tecno Spark 6 device and proceed with the initial setup. The FRP lock should now be bypassed, allowing you to access all features and functions without any restrictions.

To successfully bypass the FRP lock on your Tecno Spark 6 using Infinity CM2, it’s essential to carefully follow each step. Pay close attention to details such as selecting the correct model, connecting your device, and initiating the FRP bypass process.

If you encounter any challenges or require further assistance, refer to the documentation provided with your Infinity CM2 dongle. Additionally, don’t hesitate to reach out to their support team for help—they’re there to assist you with any issues you may encounter.

Your diligence and attention to detail will play a key role in achieving a successful FRP bypass, and I’m here to provide guidance and support every step of the way. If you need any clarification or assistance, feel free to ask—I’m here to help!

Method 3: Using Miracle Box Tool

To bypass the FRP (Factory Reset Protection) lock on your Tecno Spark 6 using the Miracle Box Tool, follow these instructions carefully:

  1. Preparation:
    • Ensure you have all the prerequisites in place, including the Miracle Box Tool, compatible firmware, USB cable, and a Windows PC.
  2. Launch Miracle Box Tool:
    • Connect your Miracle Box dongle or launch the Miracle Box Tool software on your Windows PC.
  3. Connect Device:
    • Power off your Tecno Spark 6 device.
    • Connect your device to the computer using a USB cable.
  4. Select Model:
    • In the Miracle Box Tool interface, select the appropriate model of your Tecno Spark 6 device.
  5. Select Operation:
    • Choose the “MTK” tab or option from the available tabs or options.
  6. Bypass FRP:
    • Look for an option related to FRP bypass or reset in the Miracle Box Tool interface.
    • Select the FRP bypass/reset option and follow the on-screen instructions to initiate the bypass process.
  7. Completion:
    • Wait for the FRP bypass process to complete. This may take some time depending on your device and firmware version.
    • Once the process is complete, disconnect your Tecno Spark 6 device from the computer.
  8. Verification:
    • Power on your Tecno Spark 6 device and proceed with the initial setup. The FRP lock should now be bypassed, allowing you to access all features and functions without any restrictions.

To ensure successful bypass of the FRP lock on your Tecno Spark 6 using the Miracle Box Tool, it’s crucial to carefully follow each step. Pay close attention to details such as selecting the correct model, connecting your device, and initiating the FRP bypass process.

If you encounter any issues or require further assistance, refer to the documentation provided with your Miracle Box dongle or software. Additionally, don’t hesitate to reach out to their support team for help—they’re available to assist you with any challenges you may face.

Your diligence and attention to detail are key to achieving a successful FRP bypass, and I’m here to provide guidance and support every step of the way. If you need any clarification or assistance, feel free to ask—I’m here to help!

We have confidence that you’ve successfully bypassed the FRP Lock on your Tecno Spark 5 Air KD6/KD6a device by following the provided instructions. However, if you encounter any issues or have queries regarding the process, we’re here to assist you further.

Please don’t hesitate to share your concerns or questions in the comments section below. Your feedback is essential to us, and we’re committed to addressing any issues promptly to ensure a smooth and successful experience with your device.

Your satisfaction is our priority, and we appreciate you choosing us as your guide. We eagerly await your feedback and are ready to provide any assistance you may need. Thank you for entrusting us with your FRP bypass journey, and we look forward to hearing from you soon!

Leave a Comment